REVIEW · AUCKLAND
Auckland: Half-Day Auckland Volcanoes Tour
Book on GetYourGuide →Operated by Voltours Ltd · Bookable on GetYourGuide
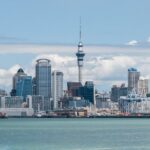
Volcanoes in Auckland? Yes, and the views are real. I love the chance to stand on the crater rims of Mt. Eden, Mangere Mountain, Mt. Wellington, and One Tree Hill, looking out over the city and its harbours. I also love how guides connect the geology to Maori and colonial-era stories as you walk, not just talk. One thing to consider: you’re on your feet for multiple summit walks, so comfortable shoes matter.
This tour is built for people who want a smart Auckland hit in a tight window. If you’re in town on a cruise, the timing works well, with a morning pickup near Queens Wharf and a return around 1pm. If you’re sensitive to weather, plan on dressing for sun and rain, because the tour can run in all weather.
In This Review
- Key Things to Know Before You Go
- Auckland Volcanoes by the Numbers: What You’re Really Seeing
- The 5-Hour Plan (and Why the Timing Works)
- Achillies Point: The Quick Photo-and-Orientation Stop
- Mt. Wellington (Maungarei): A Summit Walk with Big City Views
- Mangere Domain: Break Time, Craters, and a Food-Market Detour
- One Tree Hill (Maungakiekie): A Guided History Moment on the Skyline
- Mount Eden: The Classic Crater Rim Finale
- What You’ll Learn: Volcanic Geology Plus Maori and Colonial Context
- Walking, Footwear, and Weather: Your Real Checklist
- Price and Value: Is $113 Worth It?
- Who This Tour Fits Best
- Should You Book This Volcano Tour?
- FAQ
- What is the duration of the Auckland Volcanoes half-day tour?
- Where does the tour pickup happen?
- Which volcanoes are included?
- Is food included on the tour?
- What should I wear or bring?
- Does the tour run in bad weather?
- Is this tour suitable for mobility impairments?
Key Things to Know Before You Go
- Four Auckland volcanoes in one half-day: Mt. Eden, Mangere Mountain, Mt. Wellington, and One Tree Hill get you varied views without a full-day commitment.
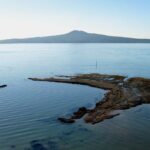
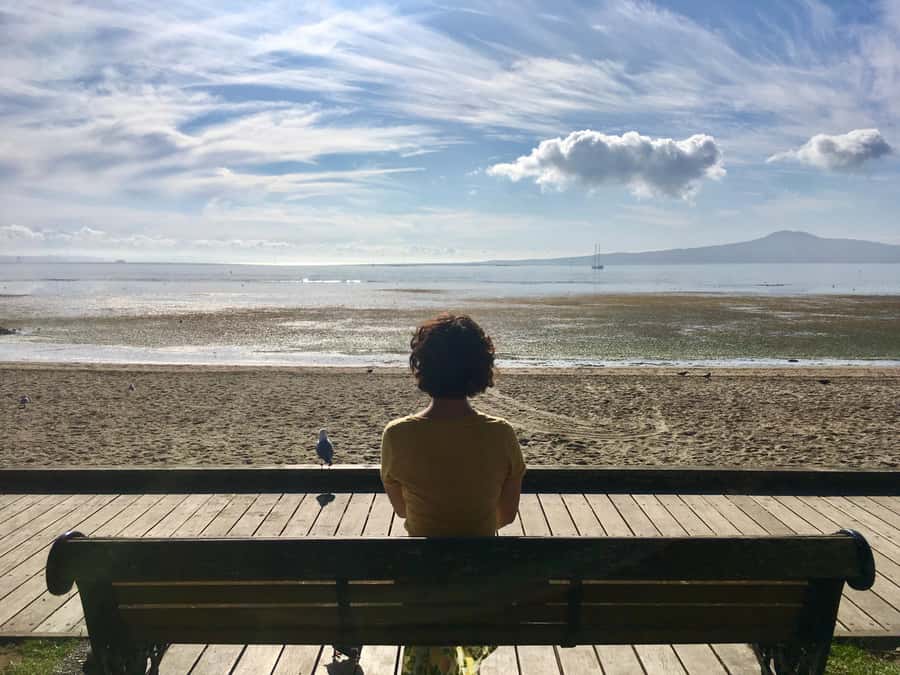
- Crater views over Auckland’s three harbours: you’ll stop at vantage points around the volcano rims and look out across the water.
- History you can see from the ground: Maori and colonial context is explained along the route while you’re actually at the sites.
- A guide who sets the pace: guides like Mike and Jerome are praised for enthusiasm and adjusting how much time you spend at stops.
- A short food market break is built in: you get time to visit the food market area at Mangere Domain, with stops for toilets too.
- Not a mobility-friendly tour: the walking on uneven paths means it may not suit everyone with mobility impairments.
Auckland Volcanoes by the Numbers: What You’re Really Seeing
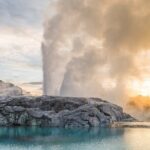
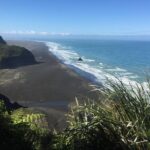
Auckland is often described as a city of water and sky. But under the surface is something else: a long volcanic story that repeats itself across the region. On this tour, you focus on Auckland’s youngest inactive volcanoes, which makes the walking feel purposeful. You’re not touring museum labels—you’re standing where the landscape was shaped.
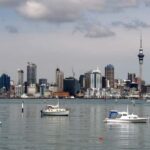
The big payoff is the view. From crater edges and summit lookouts around four volcanoes, you can see Auckland’s spread and its three harbours. That matters because it turns the hike into more than exercise. You start linking what you see—bays, peninsulas, and city blocks—to how volcanic activity built this place.
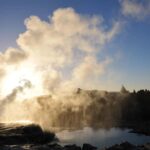
The second payoff is the “why.” A good guide doesn’t just say volcanoes exist. They explain how Auckland’s geology creates the features you’re stepping beside. One common takeaway from this style of tour: the guide can also mention that there were over 50 earlier volcanoes in the Auckland area. That scale helps you understand why Auckland looks the way it does, even after the eruptions stopped.
You can also read our reviews of more tours and experiences in Auckland


The 5-Hour Plan (and Why the Timing Works)
This is a half-day tour designed for real schedules. Most people start with an 8am pickup at the cruise port near Queens Wharf, then head into Auckland’s suburbs. After about five hours on foot and by vehicle, you return to the same cruise port area around 1pm.
That timing is a big value point if you’re on a cruise. You’re not gambling on “maybe we’ll make it back” or building extra buffer days just for transit. And if you’re staying in Auckland, the convenience is still real: the tour includes hotel pickup and drop-off (if you request it), plus cruise port pickup and drop-off.
One practical note: you’re moving between several volcano areas, so wear shoes you can trust. You’ll likely spend several stretches walking up to summit points and crater viewpoints, not just strolling on flat paths.
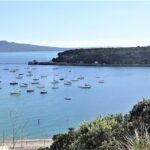
Achillies Point: The Quick Photo-and-Orientation Stop

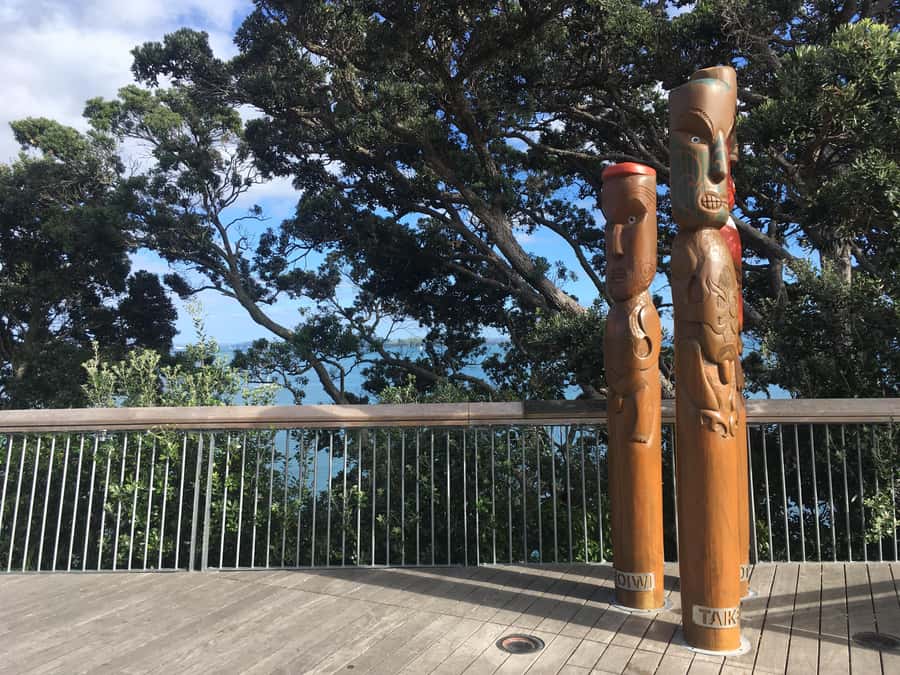
You get a brief stop at Achilles Point, about 15 minutes. Think of this as the setup moment. It helps you get oriented before the longer walks start, and it also gives you an early look at how Auckland’s geography links to volcanic ground.
Because it’s short, don’t expect a big lesson here. Expect more of a “get your bearings” stop—enough time to take photos and listen while the guide points out what to watch for later.
If you’re the type who hates rushing, this kind of stop can feel like a blink. But it’s also useful, because you’ll want your legs saved for the crater walks that come next.
Mt. Wellington (Maungarei): A Summit Walk with Big City Views
The first proper hiking segment goes to Maungarei / Mount Wellington. The walk is about 45 minutes, and it’s one of the key “effort-to-reward” parts of the day.
This is where the volcanic theme becomes physical. A crater and summit viewpoint aren’t just scenic spots; they’re the places where you can see how the city sits on volcanic terrain. And once you’re up there, you’ll get that “Auckland spreads out like a map” feeling, especially with harbour views when conditions are clear.
A drawback to be honest about: 45 minutes is real time on foot. It’s not listed as an all-sprint hike, but it’s long enough that average footwear and an “I’ll manage” attitude can backfire. Go in with comfortable shoes and a pace you can hold.
Mangere Domain: Break Time, Craters, and a Food-Market Detour
After Mount Wellington, you hit Mangere Domain. First comes a break time and food market visit (about 30 minutes), then another 45-minute walk later.
This stop is smart for two reasons. First, it breaks up the hiking so you’re not doing four summits back-to-back. Second, it gives you a chance to grab a snack or browse the market area, even though food and drinks aren’t included on the tour.
During the walk portion, you’ll be back on crater terrain again. That’s where the day becomes a repeatable pattern: walk to a viewpoint, look outward, and connect what you see (city, water, harbours) to how volcanic activity created the terrain you’re standing on.
What to watch for here is your energy level. If you arrive hungry and skip the market detour, you might feel the next walk more than you need to. If you do want a snack, this is the moment.


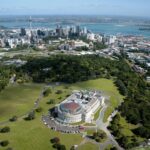
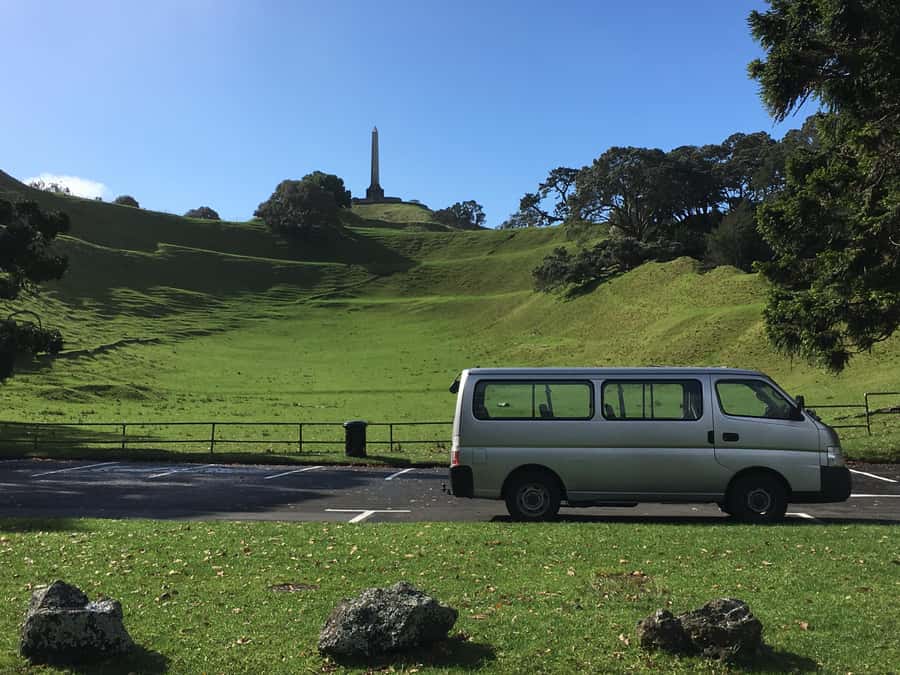
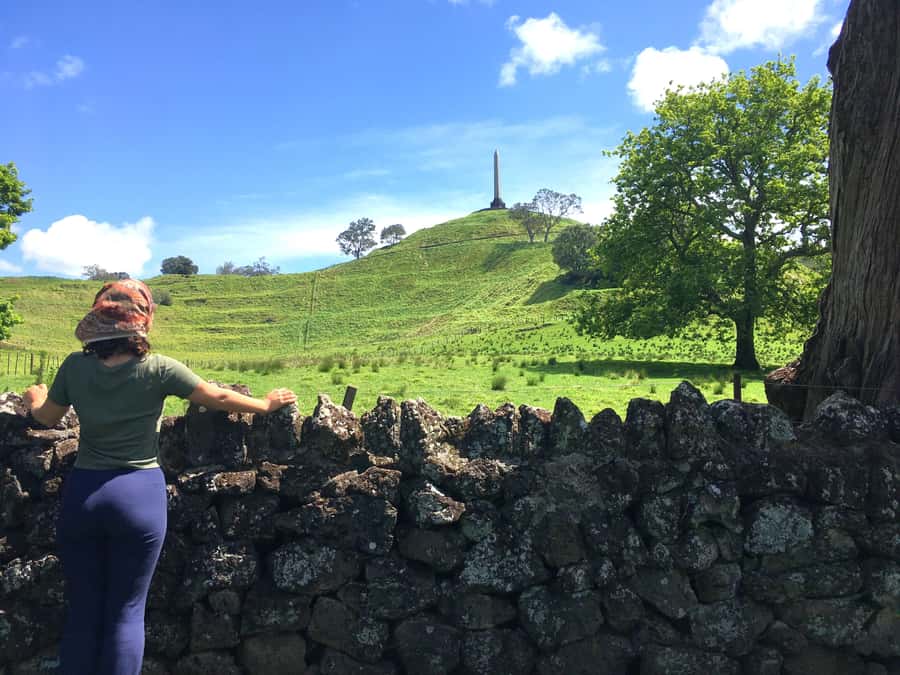
One Tree Hill (Maungakiekie): A Guided History Moment on the Skyline
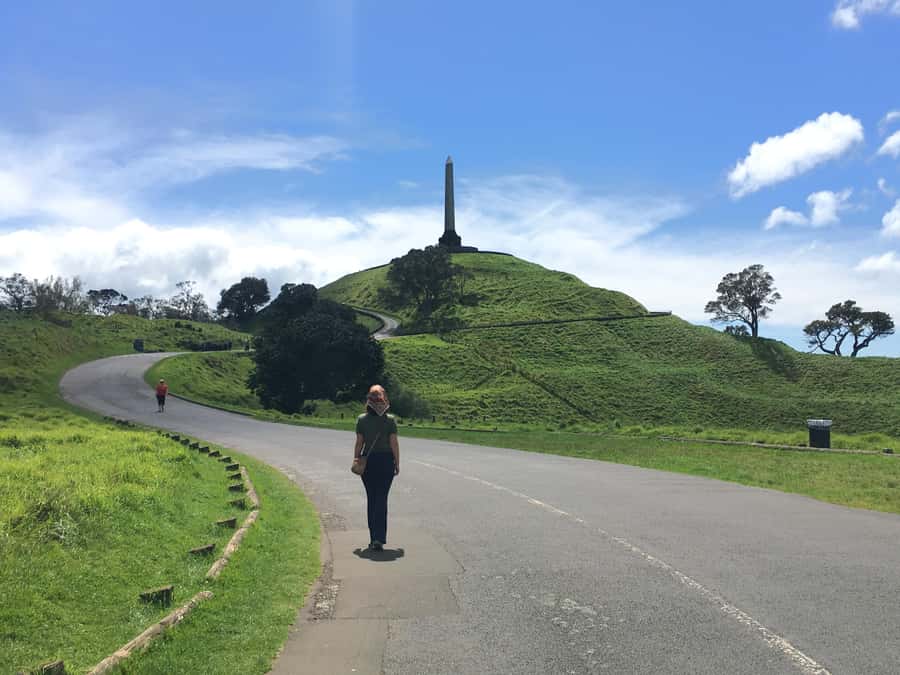
Next is Maungakiekie / One Tree Hill, which is handled a bit differently. It’s about 30 minutes with more of a guided tour feel rather than a long push on foot.
This shorter format can be a relief. By this point, you’ve already put in walking time at earlier sites, so it’s nice to shift to something less strenuous while still getting meaningful context.
This is also a place where the guide’s storytelling matters. You’ll be hearing about Maori connections and later colonial history as it ties into the area’s volcanic features. It’s the kind of explanation that makes the view feel less random and more intentional.
If it’s cloudy or windy, the skyline viewpoint may not hit as hard. But even with rough weather, having a guide talk through what you can see is a good trade.
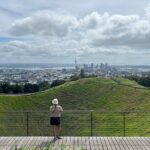
Mount Eden: The Classic Crater Rim Finale
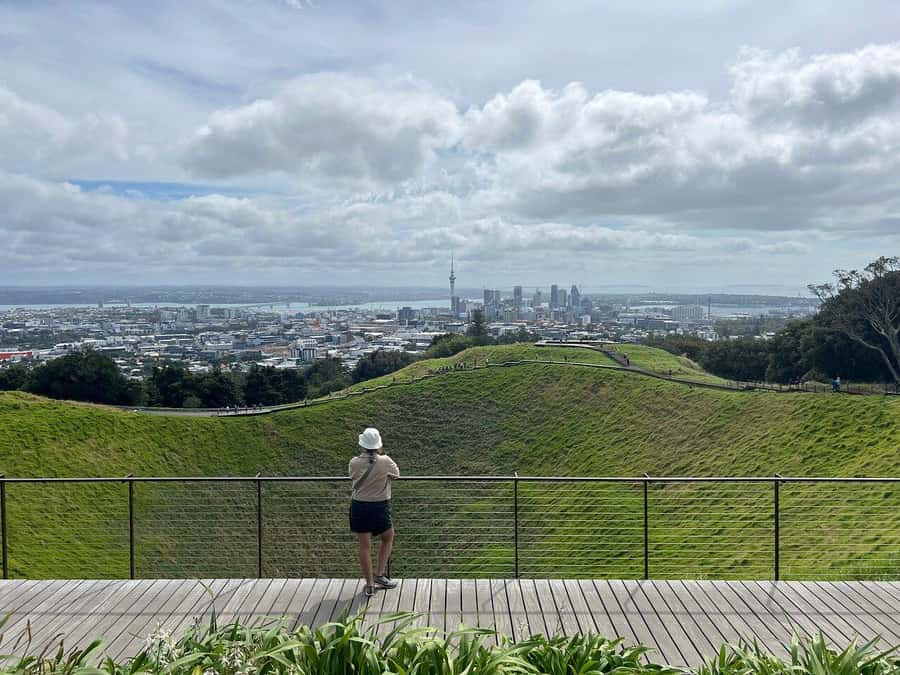
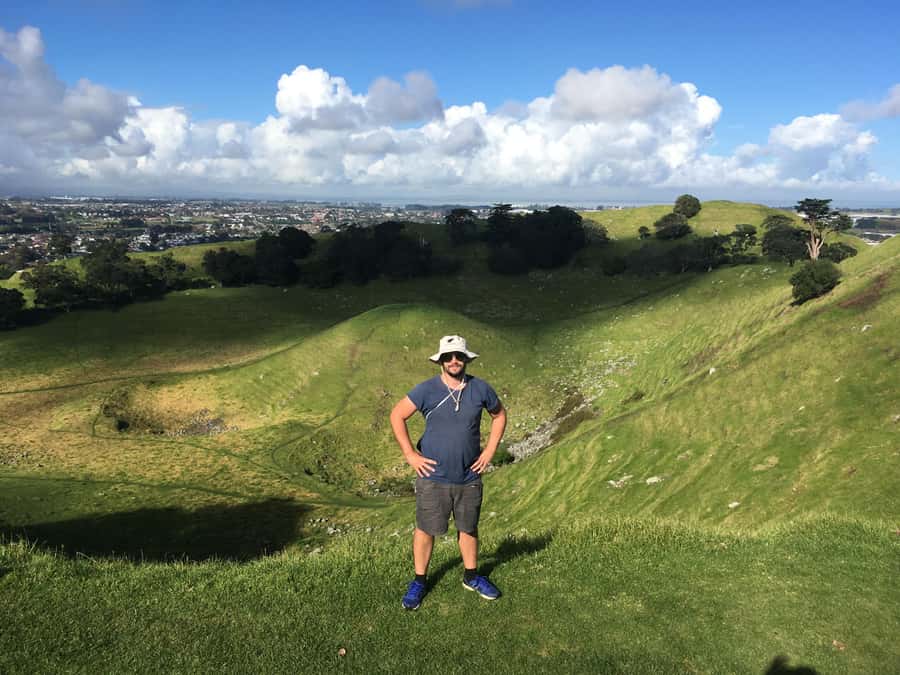
The last main walking stop is Mount Eden, with about a 30-minute walk to get you to the crater area and summit viewpoints.
Mount Eden tends to be the kind of stop people remember because it’s a crater experience you can clearly picture. You’re not just hearing about volcanic landforms—you’re looking at the bowl-like shape from vantage points and seeing how the surrounding city wraps around it.
This also works well as a finale. Earlier stops broaden the day across Auckland’s different volcanic areas. Finishing at Mount Eden helps bring it back to a more recognizable “crater rim” experience before you head back to Queens Wharf.
One more practical tip: even in a half-day tour, conditions can change fast. The crater rims can feel cooler or windier than expected. Rain gear can be a lifesaver, and sunscreen is still worth it on clear days.
What You’ll Learn: Volcanic Geology Plus Maori and Colonial Context
The tour’s real brainwork is the guide. A good guide turns “four volcanoes” into a coherent story about Auckland’s past.
Here’s what you can expect the guide to focus on:
- Volcanic geology: how the features form and why these particular volcanoes matter in the context of Auckland’s volcanic field.
- Native and country animal life: the guide may encourage you to watch for wildlife along the way.
- Maori and colonial history: you’ll hear how the area’s history connects to the land you’re standing on.
Names you might meet include Jerome and Mike, both highlighted for strong enthusiasm and for explaining volcanoes in a way that keeps you interested. One theme that shows up again and again: these guides don’t treat the tour like a checklist. They answer questions, adjust how much time you spend at spots, and make it feel less like a rushed bus ride.
That matters for value. If you only get photos, you’ll feel the cost as just transportation plus views. If you get the “why” from the guide, the same stops become a lesson you can carry around long after the ride back.
Walking, Footwear, and Weather: Your Real Checklist
This tour can run in all weathers. That’s great for reliability, but it means you should pack like a local: layers, rain gear, and shoes that handle uneven outdoor surfaces.
Here’s what you should bring:
- Comfortable shoes
- Rain gear
- Sunscreen
The walks aren’t described as extreme, but they are long enough to notice traction and comfort. If you’ve got boots, good socks, and a willingness to take short breaks when needed, you’ll enjoy the day more.
Also plan around the fact that you’ll likely be outside at crater rims and hill viewpoints. Wind and light rain can change the experience quickly, and crater edges can make footing feel different than street-level paths.
Finally, the tour notes it isn’t suitable for people with mobility impairments. If you’re deciding based on accessibility needs, treat that as a firm signal.
Price and Value: Is $113 Worth It?
At $113 per person for a five-hour guided tour, the question is really what you get besides the scenery.
You do get a lot that usually costs extra on your own:
- Hotel pickup and drop-off (if requested) plus cruise port pickup and drop-off
- A local guide
- Air-conditioned vehicle transport between stops
- Entry to attractions visited
- Food and toilet stops built into the route
What you don’t get is food and drinks. That’s normal for a half-day excursion, but it’s worth planning for because you might want to buy a snack during the food market break.
Where the price feels especially fair is in the “guided + multiple sites + timing” combo. Doing four volcano areas efficiently on your own, from a cruise schedule or without a car, is the part that would likely cost you time and stress. Paying for guidance is what turns the stops into a story instead of four separate photo opportunities.
Who This Tour Fits Best
This Auckland volcano tour suits you if:
- You want a focused hit on Auckland in a short window
- You like walking to viewpoints with a guide explaining what you’re seeing
- You care about both geology and cultural storytelling tied to the places
It may be less ideal if:
- You want a mostly flat, sit-down experience
- You don’t do well with moderate walking on outdoor terrain
- You prefer to explore on your own timing without stopping at multiple set points
For many cruise passengers, it’s a sweet spot: you get a full “Auckland volcanoes” experience without needing to plan transportation through several different suburbs.
Should You Book This Volcano Tour?
If you’re choosing between a quick photo stop and a guided half-day that connects geology to the land, I’d lean toward booking this. The value is strongest when you want the “why” behind the view—craters, harbours, and cultural context explained while you’re standing in the right places.
Book it if you can handle several walking segments and you’re ready for weather that can change during the day. Skip it if mobility limitations make hills and crater paths hard for you, because the route is built around summit walks.
If you’re the kind of traveler who enjoys asking questions and learning from a guide—like Jerome or Mike, known for energy and clear explanations—this is one of those tours where the time feels well spent.
FAQ
What is the duration of the Auckland Volcanoes half-day tour?
The tour lasts about 5 hours.
Where does the tour pickup happen?
Pickup is available at the cruise port near Queens Wharf (near the 8am start) and also in Auckland CBD if you’re using hotel pickup.
Which volcanoes are included?
You’ll visit Mt. Eden, Mangere Mountain, Mt. Wellington, and One Tree Hill.
Is food included on the tour?
Food is not included. The tour includes a food market visit and food/toilet stops, but you’ll need to purchase what you want.
What should I wear or bring?
Bring comfortable shoes, sunscreen, and rain gear.
Does the tour run in bad weather?
Yes. The tour can take place in all weather, so dress appropriately.
Is this tour suitable for mobility impairments?
No. It’s not suitable for people with mobility impairments.