REVIEW · SKYDIVING
Auckland: 13000, 16000, or 18000-Foot Tandem Skydive
Book on GetYourGuide →Operated by Skydive Auckland · Bookable on GetYourGuide
Up above Auckland, you’ll feel like you’ve left Earth. This tandem skydive puts you on the plane, straps you into the harness, then sends you out for up to 75 seconds of freefall over the coast, reaching up to 200 km/h. The crew also gets a lot of praise for helping nervous first-timers feel steady—names like Owen, James, Mitch, and Aaron show up again and again in the feedback. The main catch: there are strict weight/eligibility limits (and 18,000 ft has an age rule).
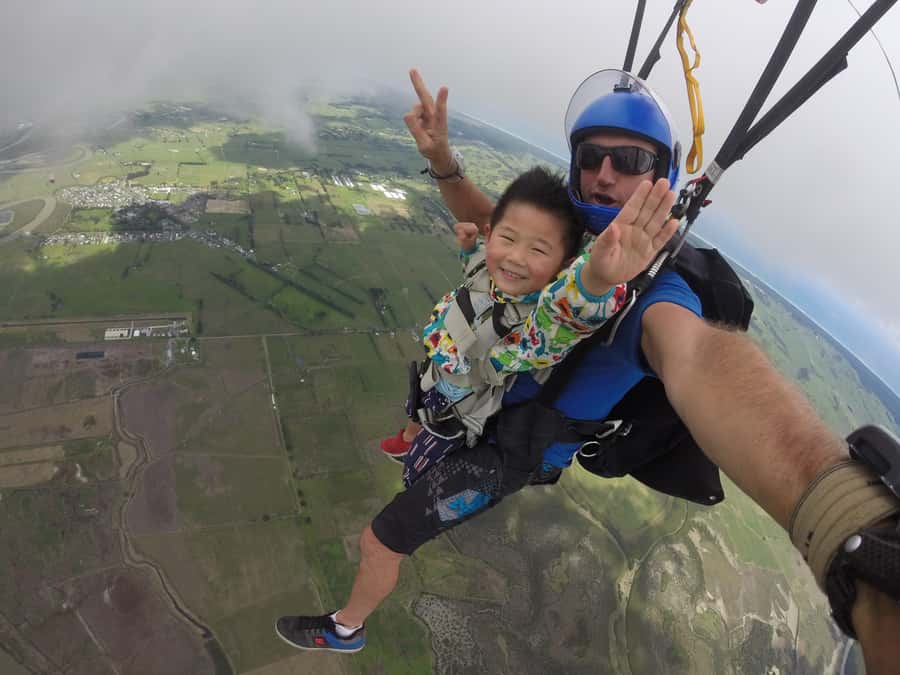
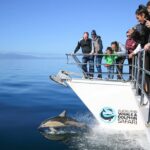
What makes this Auckland jump especially memorable is the geography you get to see from the sky. From the air, you can spot details such as Waiheke Island, Great Barrier Island, and even landmarks associated with the central and west of the North Island, including Mount Ruapehu and Mt Taranak—plus views of both the East and West coasts.
One more thing to consider before you book: the jump isn’t for everyone. You’ll need to meet the 100 kg / 220 lb weight limit, and pregnant women aren’t suitable. If you’re under 18, you’ll need a parent/guardian or signed waiver—and for the 18,000 ft option, you must be at least 12 years old.
In This Review
- Key highlights worth planning for
- Choosing 13,000, 16,000, or 18,000 Feet Over Auckland
- Meeting at Skydive Auckland: What the 3-Hour Window Actually Means
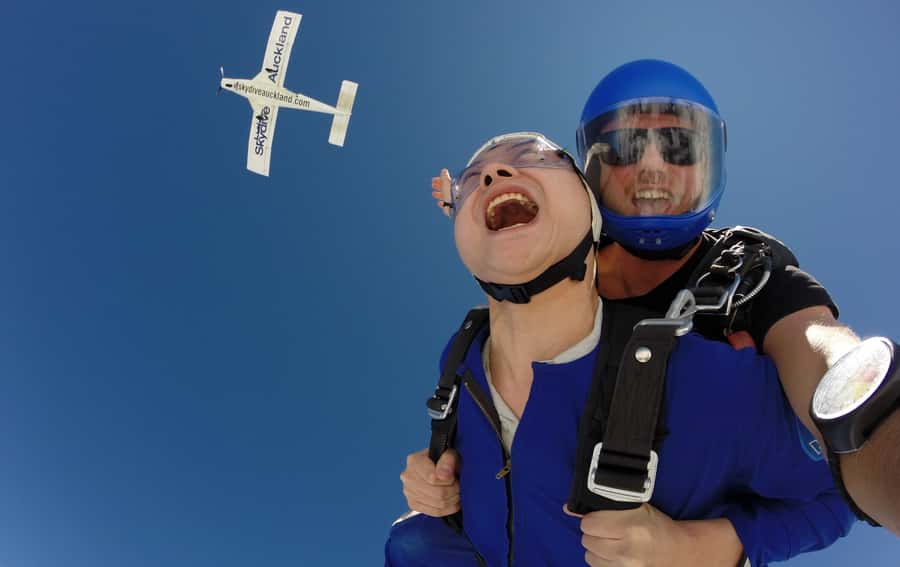
- The Scenic Flight Over Auckland Before You Jump
- Freefall for Up to 75 Seconds: What 200 km/h Feels Like
- Parachute Serenity and the Coasts You’ll Actually See
- Crew, Safety, and the Names You’ll Hear
- Gear Rules You Should Know Before You Show Up
- Photo and Video: Worth It or Optional Proof?
- Weather, Clothing, and Comfort Tips That Matter at Altitude
- Getting the Most From Your Tandem Skydive Booking
- Should You Book This Auckland Tandem Skydive?
- FAQ
- What height options are available?
- How long is the experience?
- How fast and how long is the freefall?
- Is photo and video included?
- Is there a weight limit or age limit?
- What should I wear?
Key highlights worth planning for
- Choose your height: options are 13,000, 16,000, or 18,000 feet, each with its own payoff.
- Up to 75 seconds of freefall: long enough that you actually remember the moment, not just the first second.
- Nearly 200 km/h speed: the body sensation is the point, and it’s fast.
- Auckland plus multiple island views: Waiheke and Great Barrier Island are commonly visible from up there.
- Support crew can watch from a viewing deck: friends and family can see the whole landing sequence.
- Photo/video available on the day: you buy it separately, but you’ll often get the files quickly after landing.
Choosing 13,000, 16,000, or 18,000 Feet Over Auckland
You’ve got three altitude options, and the right one depends on what you want most: more time in freefall, more time under canopy, or just the confidence of going a bit lower first.
- 13,000 feet: great if you want the full wow factor without making your first skydive decision feel too big. It still includes the same tandem setup and the scenic flight over Auckland before you exit.
- 16,000 feet: the middle choice for people who can’t decide. You get a bigger jump height than 13,000, while still feeling less intimidating than going straight to the top option.
- 18,000 feet: this is the one people talk about when they say it was worth it. It’s also the most restricted option: 18,000 ft skydives are limited to those 12 years or older.
Speed and freefall time are part of the promise for all options, with freefall lasting up to 75 seconds and speed reaching up to 200 km/h. The higher you go, the longer it usually feels to you that you’re “still in the sky” before and after the exit—so if you’re chasing the biggest sense of flight, 18,000 ft is your best bet.
You can also read our reviews of more tours and experiences in Auckland.


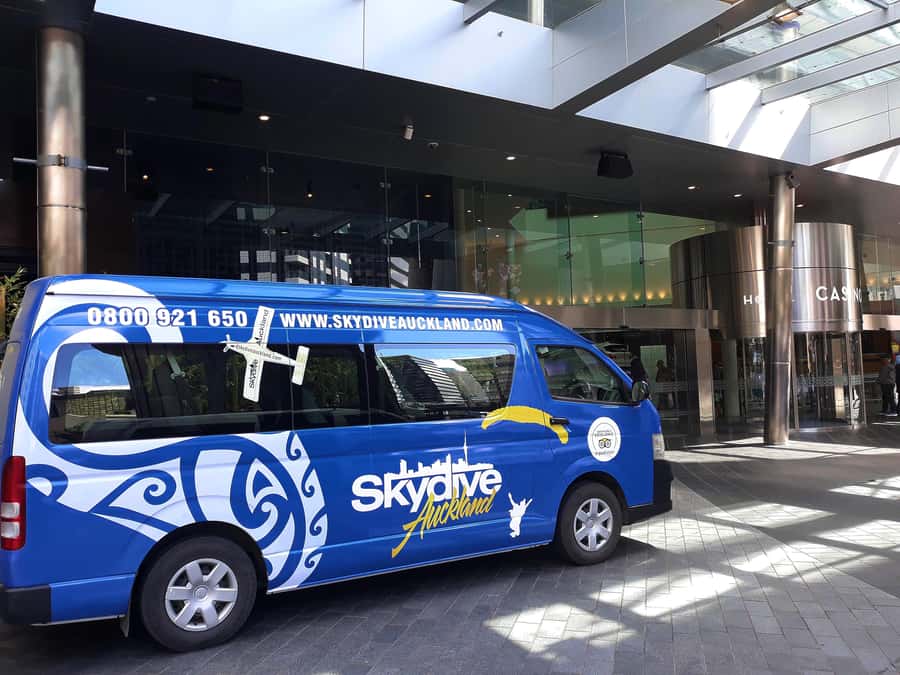
Meeting at Skydive Auckland: What the 3-Hour Window Actually Means
The whole experience runs about 3 hours, but the day isn’t just “jump and leave.” You’ll meet at Skydive Auckland, and the operation is based in Parakai, about a 45-minute drive from Auckland City. If you’re planning your day, give yourself a little breathing room for travel time and check-in.
Expect a rhythm that looks like this:
- You arrive, sign in, and get suited up with the gear.
- You get a safety briefing from your English-speaking instructor.
- You head to the plane, then climb to your chosen altitude.
- After the skydive, you land, and then the post-jump wrap-up happens (including how/when any photo/video gets delivered if you purchased it).
Reviews repeatedly mention how efficient and organized the team felt—people describe being suited up and in the plane with almost no waiting. Still, there can be schedule shifts due to weather (one winter story included a long wait until the jump window opened). The safest planning move is to treat the 3 hours as your block, not a guarantee of every minute.
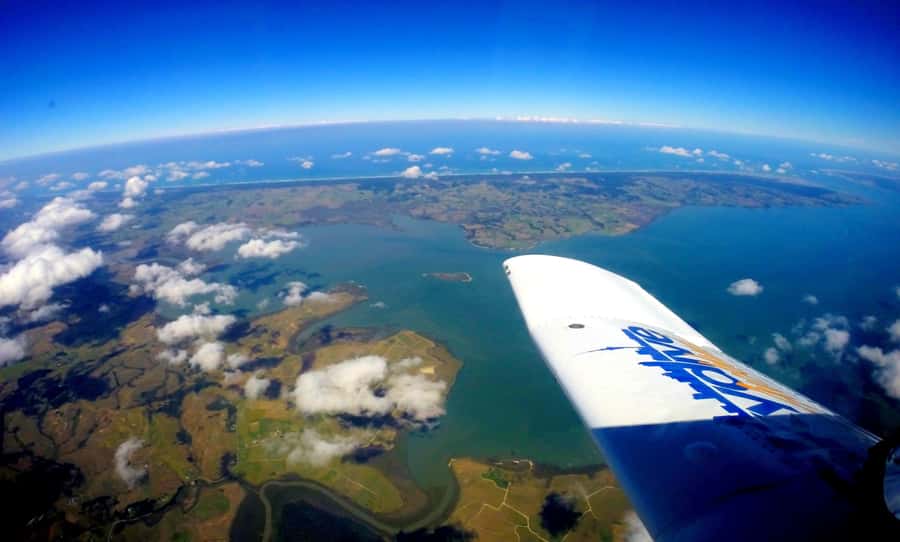
The Scenic Flight Over Auckland Before You Jump
The flight is more than a transport segment. It’s your “come-to-your-senses” phase, where you get to watch Auckland come into focus and your brain starts catching up to what’s about to happen.
As you climb, you’ll notice the scale changes fast. The coastline becomes pattern and geometry. Islands and bays stop being “names on a map” and start looking like real places. That’s also when you start feeling the temperature difference—especially if you hit cloud cover. One jumper described what it’s like when you go through clouds: cold air, and even tiny ice crystals that can sting your face.
Door open time depends on which altitude you booked:
- 18000 ft, 16000 ft, or 13000 ft door opening
- then you’ll be strapped to your tandem instructor the whole way through the exit and freefall
If you’re someone who gets nervous in anticipation, this part matters. Having a clear sequence—get seated, rise to altitude, then do the exit—helps people settle. Many instructors are praised specifically for being calm and confidence-building with first-timers.
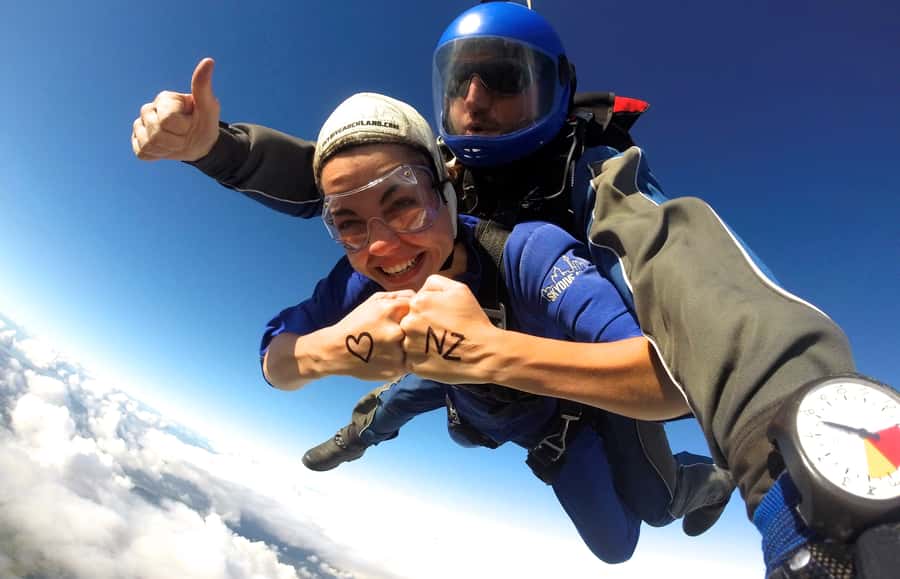
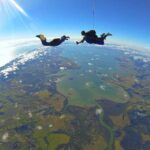
Freefall for Up to 75 Seconds: What 200 km/h Feels Like
Here’s where your adrenaline makes the argument for you.
Once the door opens, you’re strapped in tandem, and you start the freefall. The promise is up to 75 seconds of freefall, with speed up to 200 km/h. That speed matters because it changes your perception. It’s not just scary in a dramatic movie way—it’s physical. Your body reacts to the airflow, your senses narrow, and time starts to feel warped.
People often expect skydiving to feel chaotic. Instead, the tandem setup is designed to keep things manageable: the instructor handles the critical movements and your job is to follow instructions, keep your position, and take in the views as best you can. It’s also why first-timers keep reporting that it didn’t end up being as terrifying as they feared—especially when the instructor is confident and communicative.
And yes, you’ll likely spend part of those 75 seconds thinking something like: I can’t believe I’m doing this. That’s the point of choosing tandem for a first jump. You get the sensation without having to manage the mechanics yourself.
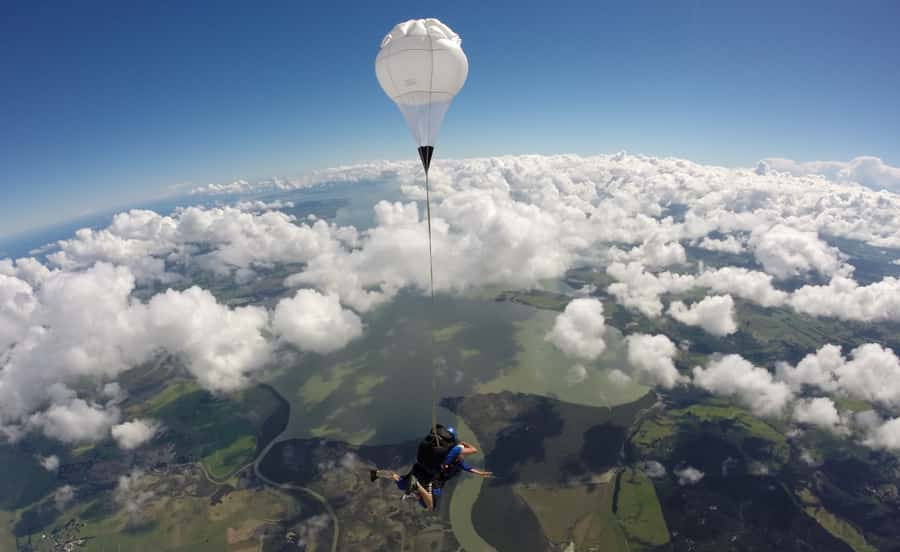
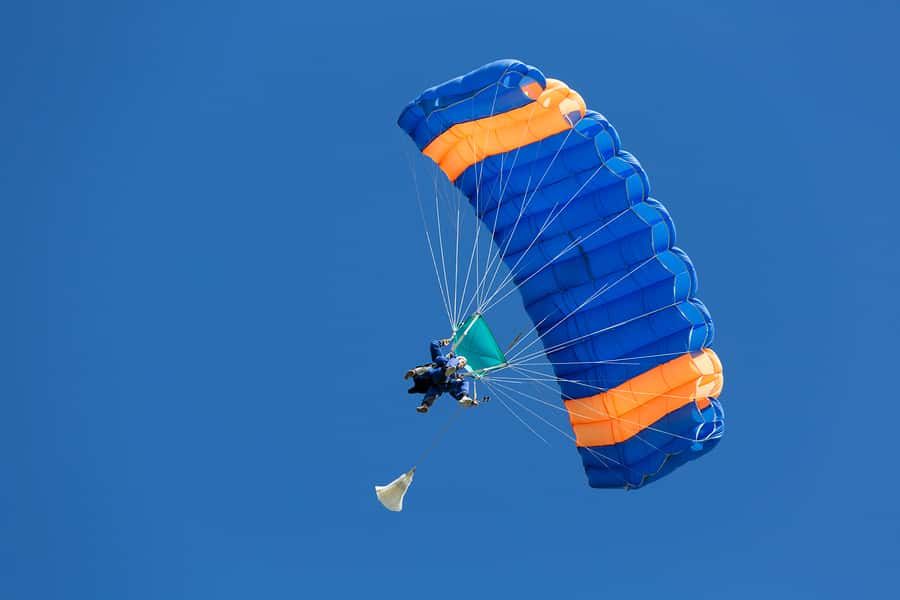
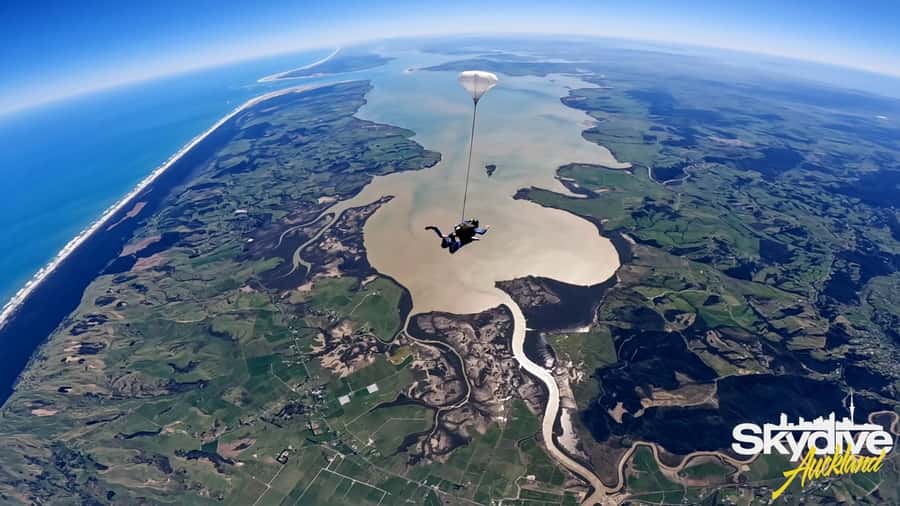
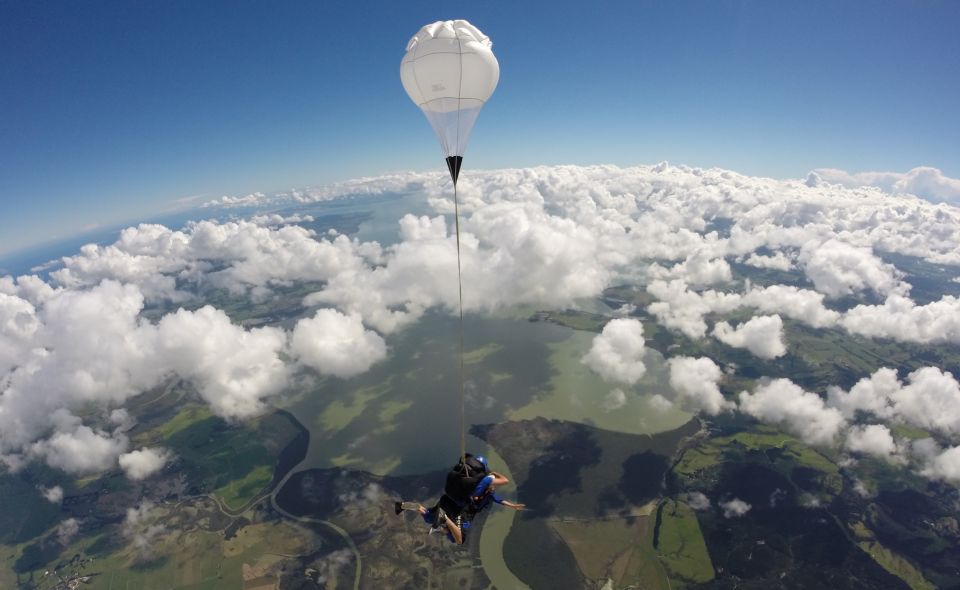
Parachute Serenity and the Coasts You’ll Actually See
After freefall, you transition to the parachute phase, and that’s when the experience flips from high-speed intensity to calm control. The info package describes the parachute as a kind of serenity, and that matches what people tend to remember: once the canopy is open, you get breathing room to look around.
From that height, you can get both the East and West coastlines in view, along with island scenery. Depending on conditions and your exact route, you might spot:
- Waiheke Island
- Great Barrier Island
- Mount Ruapehu
- Mt Taranak
Even if you’re not the type to memorize geography, it still hits visually. Coastlines look like brushstrokes from above. Volcanic-looking terrain and inland landmarks pop out in ways you can’t replicate from the ground.
One winter review also highlighted how weather and wind can make things feel intense under canopy. The wind can be strong, and you may feel it. But that’s also part of why an experienced team matters. If your instructor and crew keep you informed, you stay present instead of spiraling.


Crew, Safety, and the Names You’ll Hear
This is one of those activities where “safe” isn’t a poster—it’s a vibe you feel in the briefing and the gear check. The feedback here is overwhelmingly about professionalism and reassurance.
Several instructors get singled out by name in the reviews, including Owen, James, Mitch, Aaron, Erin, Sam, and Ballsy. The common thread across those mentions: they’re described as putting people at ease, explaining what’s happening, and keeping the moment controlled even when you’re scared.
You’ll also see praise for the overall operation: friendly staff, thorough instruction, and efficient timing (including a setup process where people feel ready quickly). That matters because skydiving success for first-timers isn’t only about weather and gear. It’s also about whether you trust the humans running the show.
If you’re someone who’s nervous of heights, this is the place where calm instruction becomes part of the attraction. You’re not trying to “out-bravery” fear. You’re letting your instructor turn the unknown into a step-by-step plan.
Gear Rules You Should Know Before You Show Up
A few details can save you last-minute stress:
- No open-toed shoes. Wear closed-toe footwear that fits securely.
- Weight limit: you must be 100 kg / 220 lb or less.
- No age limit in general, but under 18 requires a parent/guardian or signed waiver.
- 18,000 ft is limited to those 12 years or older.
- Not suitable for pregnant women.
There’s also a wheelchair accessible note. That’s good to know if mobility support is part of your planning. What’s not covered in the info here is how each person’s needs are handled on the day, so if accessibility is a priority, I’d contact the operator to confirm specifics that matter to you.
Photo and Video: Worth It or Optional Proof?
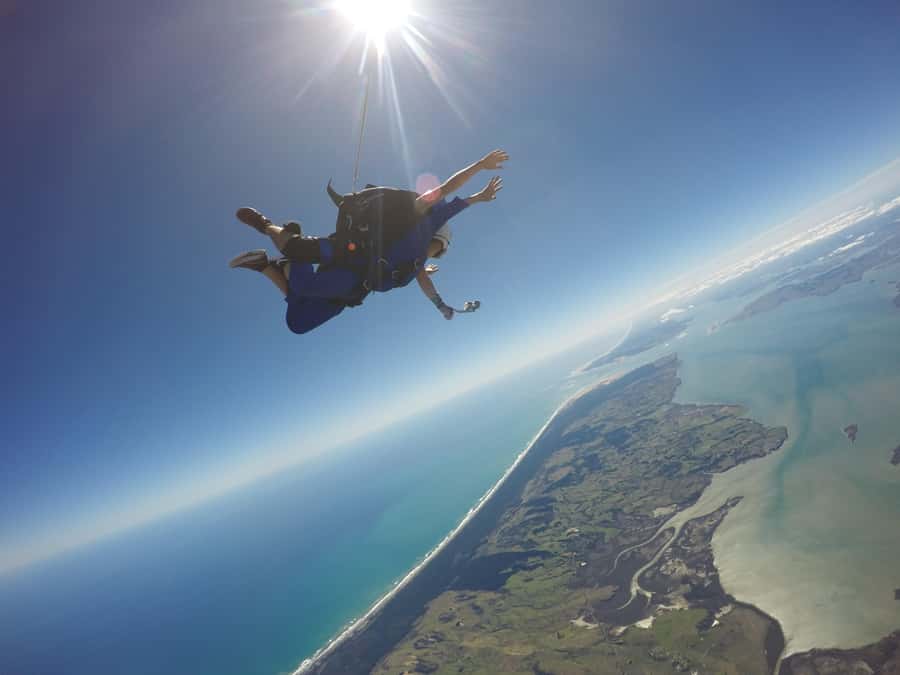
Photo and video are not included. You can buy options on the day, and if you do, they’re delivered after landing.
A couple of the reviews give useful timing context: one jumper said photos and videos came through within about 15 minutes of landing. That’s a big deal because it means you’re not stuck waiting hours to see what you looked like mid-air.
Is it worth paying extra? If you’re doing a tandem jump, you’re usually not going to remember everything clearly. Video gives you a record of the flight, the exit moment, and how the instructor handled the experience. If you’re the type who loves to revisit big milestones, it’s often money well spent. If you’re trying to keep costs tight, skip it and just focus on the real-time experience.
Weather, Clothing, and Comfort Tips That Matter at Altitude
Weather can change the timing. One review included a delay due to gloomy winter conditions, with the jump pushed later but still described as worth the wait. That’s normal for outdoor aerial activities: you want safe conditions, not a rushed one.
For comfort, consider what altitude does to you:
- expect it to feel cold, especially if you go through cloud cover (one review mentioned air below zero and ice crystals).
- dress in layers so you can adjust between the ground and the aircraft climb.
- stick to the footwear rule (no open-toed shoes).
Also, bring patience. Even when the operation is fast, the day includes check-in, safety talk, and coordinating with flight schedules. If you go in thinking of it as an event day—not just a quick appointment—you’ll enjoy it more.
Getting the Most From Your Tandem Skydive Booking
At $206 per person, the value depends on what you want from the experience, and what you already enjoy.
Here’s what you’re paying for that’s clearly included:
- Your chosen altitude option (13k/16k/18k)
- All equipment
- A tandem format with an English-speaking instructor
What costs extra:
- Photo and video options (available on the day)
So the decision isn’t really about whether you’re buying “a ride.” You’re buying a guided, full package where the biggest variables are your altitude choice and whether you add the media package. If you want the biggest adrenaline story, book higher. If you want a manageable first step with the same core thrill, 13,000 or 16,000 feet works well.
One more practical note: if you’re bringing support crew, the viewing deck is positioned so friends and family can watch you land. That can make a difference if this is a birthday, bucket-list moment, or a once-in-a-while family outing.
Should You Book This Auckland Tandem Skydive?
If you want one activity in Auckland that genuinely feels like a life memory, I think this is a strong pick. The reason is simple: you get a real adrenaline hit (up to 75 seconds of freefall) plus serious scenery, and the operation is consistently described as professional and calming.
Book it if:
- you’re excited by the idea of freefall and want a real speed-and-time sensation
- you care about the views—coasts, islands, and North Island landmarks from the air
- you’ll benefit from tandem guidance if you’re nervous
Skip or rethink if:
- you don’t meet the 100 kg / 220 lb weight limit
- you’re pregnant
- the 18,000 ft age rule matters to you (it’s 12+)
If you’re on the fence between altitudes, lean toward the one that matches your comfort level: 13,000 ft for a first-timer feel, 18,000 ft for the biggest “worth it” factor.
FAQ
What height options are available?
You can choose a tandem skydive from 13,000, 16,000, or 18,000 feet.
How long is the experience?
The total experience duration is listed as 3 hours.
How fast and how long is the freefall?
You can reach speeds of up to 200 km/h and experience up to 75 seconds of freefall.
Is photo and video included?
No. Photo and video options are available to purchase on the day for an additional cost.
Is there a weight limit or age limit?
There’s a 100 kg / 220 lb weight limit. There’s no general age limit, but people under 18 need a parent/guardian or a signed waiver, and 18,000 ft is limited to those 12 years or older. Pregnant women are not suitable.
What should I wear?
Open-toed shoes are not allowed, so plan on closed-toe footwear.